Image optimizer
Image optimizer is a free tool that compresses and optimises images to reduce their file size while maintaining high quality.
How do I optimise an image?
Open the image, let the tool process it, then compare the original and new file sizes.
- Select Open and choose the image you want to optimise.
- Wait for the server to process the file.
- Compare Original size with New size to see how much space was saved.
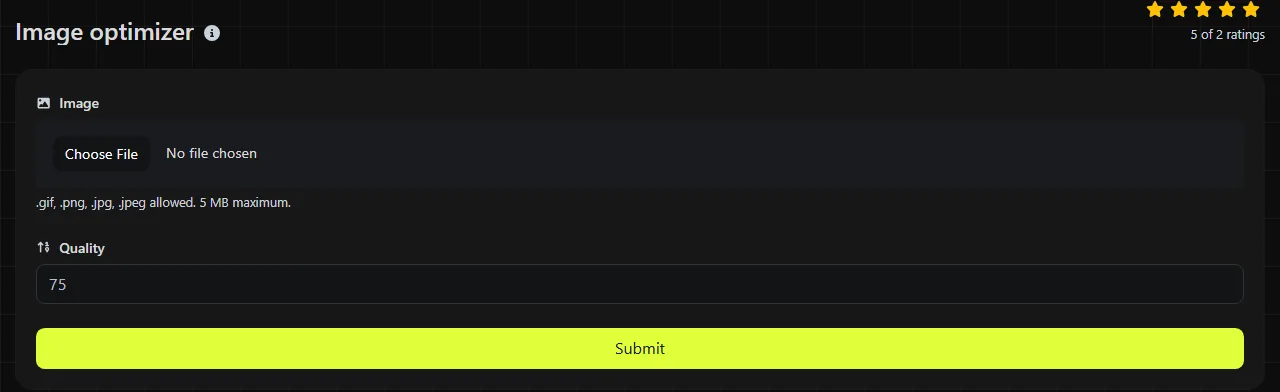
The work takes place on the server. Your input travels to the server over HTTPS and is not stored. This differs from browser-only image tools, where processing happens entirely on your device.
The published tool information does not specify accepted image formats, maximum dimensions or a file-size limit. If a particular image cannot be opened, check that it is a valid image file rather than a renamed document or an incomplete download.
What changes when an image is optimised?
Image optimisation reduces the amount of data needed to store an image, usually by adjusting compression or removing data that is not needed for display.
Lossless compression preserves the decoded pixel data. It suits diagrams, interface graphics and images containing sharp text. Lossy compression discards some image information to produce a smaller file, and is generally more effective for photographs. Repeated lossy processing can introduce soft edges, block patterns or colour banding.
Optimisation and format conversion are related but different operations. The available information for this tool does not state whether it changes the image format, dimensions, colour profile or metadata.
Optimising a lossy JPEG cannot restore detail that earlier compression removed. Saving that JPEG as a lossless PNG may preserve its current pixels, but it will not recreate the original quality and will usually increase the file size.
Format choices for web images
Conversion can make sense when the source format is poorly suited to its intended use.
| Format | Compression | Transparency and animation | Typical use and size direction |
|---|---|---|---|
| PNG | Lossless | Supports full alpha transparency. The current PNG specification includes animation. | Useful for logos, screenshots and sharp graphics. Photographs are commonly larger than equivalent JPEG or WebP files. |
| JPEG | Lossy | No transparency or animation | Well suited to photographs and widely supported. Usually smaller than PNG for complex photographic content. |
| WebP | Lossy or lossless | Supports transparency and animation | Designed for web delivery and broadly supported by modern browsers. It commonly produces smaller web images than older formats at comparable visual quality. |
| GIF | Lossless compression with a palette limited to 256 colours per frame | Supports simple transparency and animation | Widely supported, but colour limits make it unsuitable for detailed photographs. Animated WebP can often reduce the size of equivalent animations. |
If a transparent PNG no longer needs transparency, PNG to JPG may produce a much smaller photographic image. PNG to WebP is usually the more suitable route when transparency must remain and the target browsers support WebP.
How much smaller will an optimised image be?
The reduction depends on the source format, dimensions, image content and how efficiently the file was already encoded.
- A camera photograph saved at a high JPEG quality may have room for further lossy compression.
- A PNG screenshot with a limited colour range may compress well without visible changes.
- An image already processed by an image editor or content delivery network may shrink only slightly.
- A noisy photograph, scanned paper texture or detailed artwork is harder to compress because neighbouring pixels differ substantially.
- Very small images may show little saving because file headers and metadata form a larger share of the total size.
For a worked calculation, suppose Original size shows 2.4 MB and New size shows 1.8 MB. The saving is 0.6 MB, or 25 per cent of the original size.
When is image optimisation a good idea?
Image optimisation is useful when file size affects page loading, storage, upload limits or email delivery.
Common cases include preparing product photographs for Shopify, reducing editorial images before adding them to WordPress, or shrinking email graphics that would otherwise make a message slow to download. It can also help when a council or company website publishes many large photographs for mobile visitors.
It is a poor choice when you need an untouched archival master, plan to continue detailed editing, or must retain all camera metadata. Keep the original file separately and optimise a copy for publishing. No optimiser can add genuine detail to an undersized image or reverse damage from earlier lossy compression.
Frequently asked questions
Can I optimise an image with a transparent background?
Transparency depends on the image format and the processing applied. PNG and WebP can preserve alpha transparency, while JPEG cannot.
Will image optimisation change the pixel dimensions?
Compression does not inherently require resizing, but some optimisation workflows combine the two. The tool information does not state whether width and height are changed.
What happens to an animated GIF?
An animated GIF contains multiple frames, timing information and often a repeating loop. A processor that handles only the first frame can turn it into a static image, while recompressing every frame may alter colours if the processor requantises or changes the palettes.
Should I optimise an image before printing it?
The tool returns only Original size and New size, which do not establish whether an image is suitable for printing.
Popular Tools
Create your own custom signature and download it easily with our signature generator tool for personalized e-signatures.
Calculate the size of any text in Bytes (B), Kilobytes (KB), or Megabytes (MB) using our text size calculator tool.
Use the reverse IP lookup tool to find the domain or host associated with any IP address quickly and easily.
Use our ping tool to check the status and response time of any website, server, or port quickly and efficiently.
Digily Link's IP lookup tool provides detailed information about any IP address. Use this free online service to get comprehensive IP data.
Generate your free WhatsApp link instantly with our WhatsApp Link Generator. Add a custom message and start chats in one click. No login or coding required.